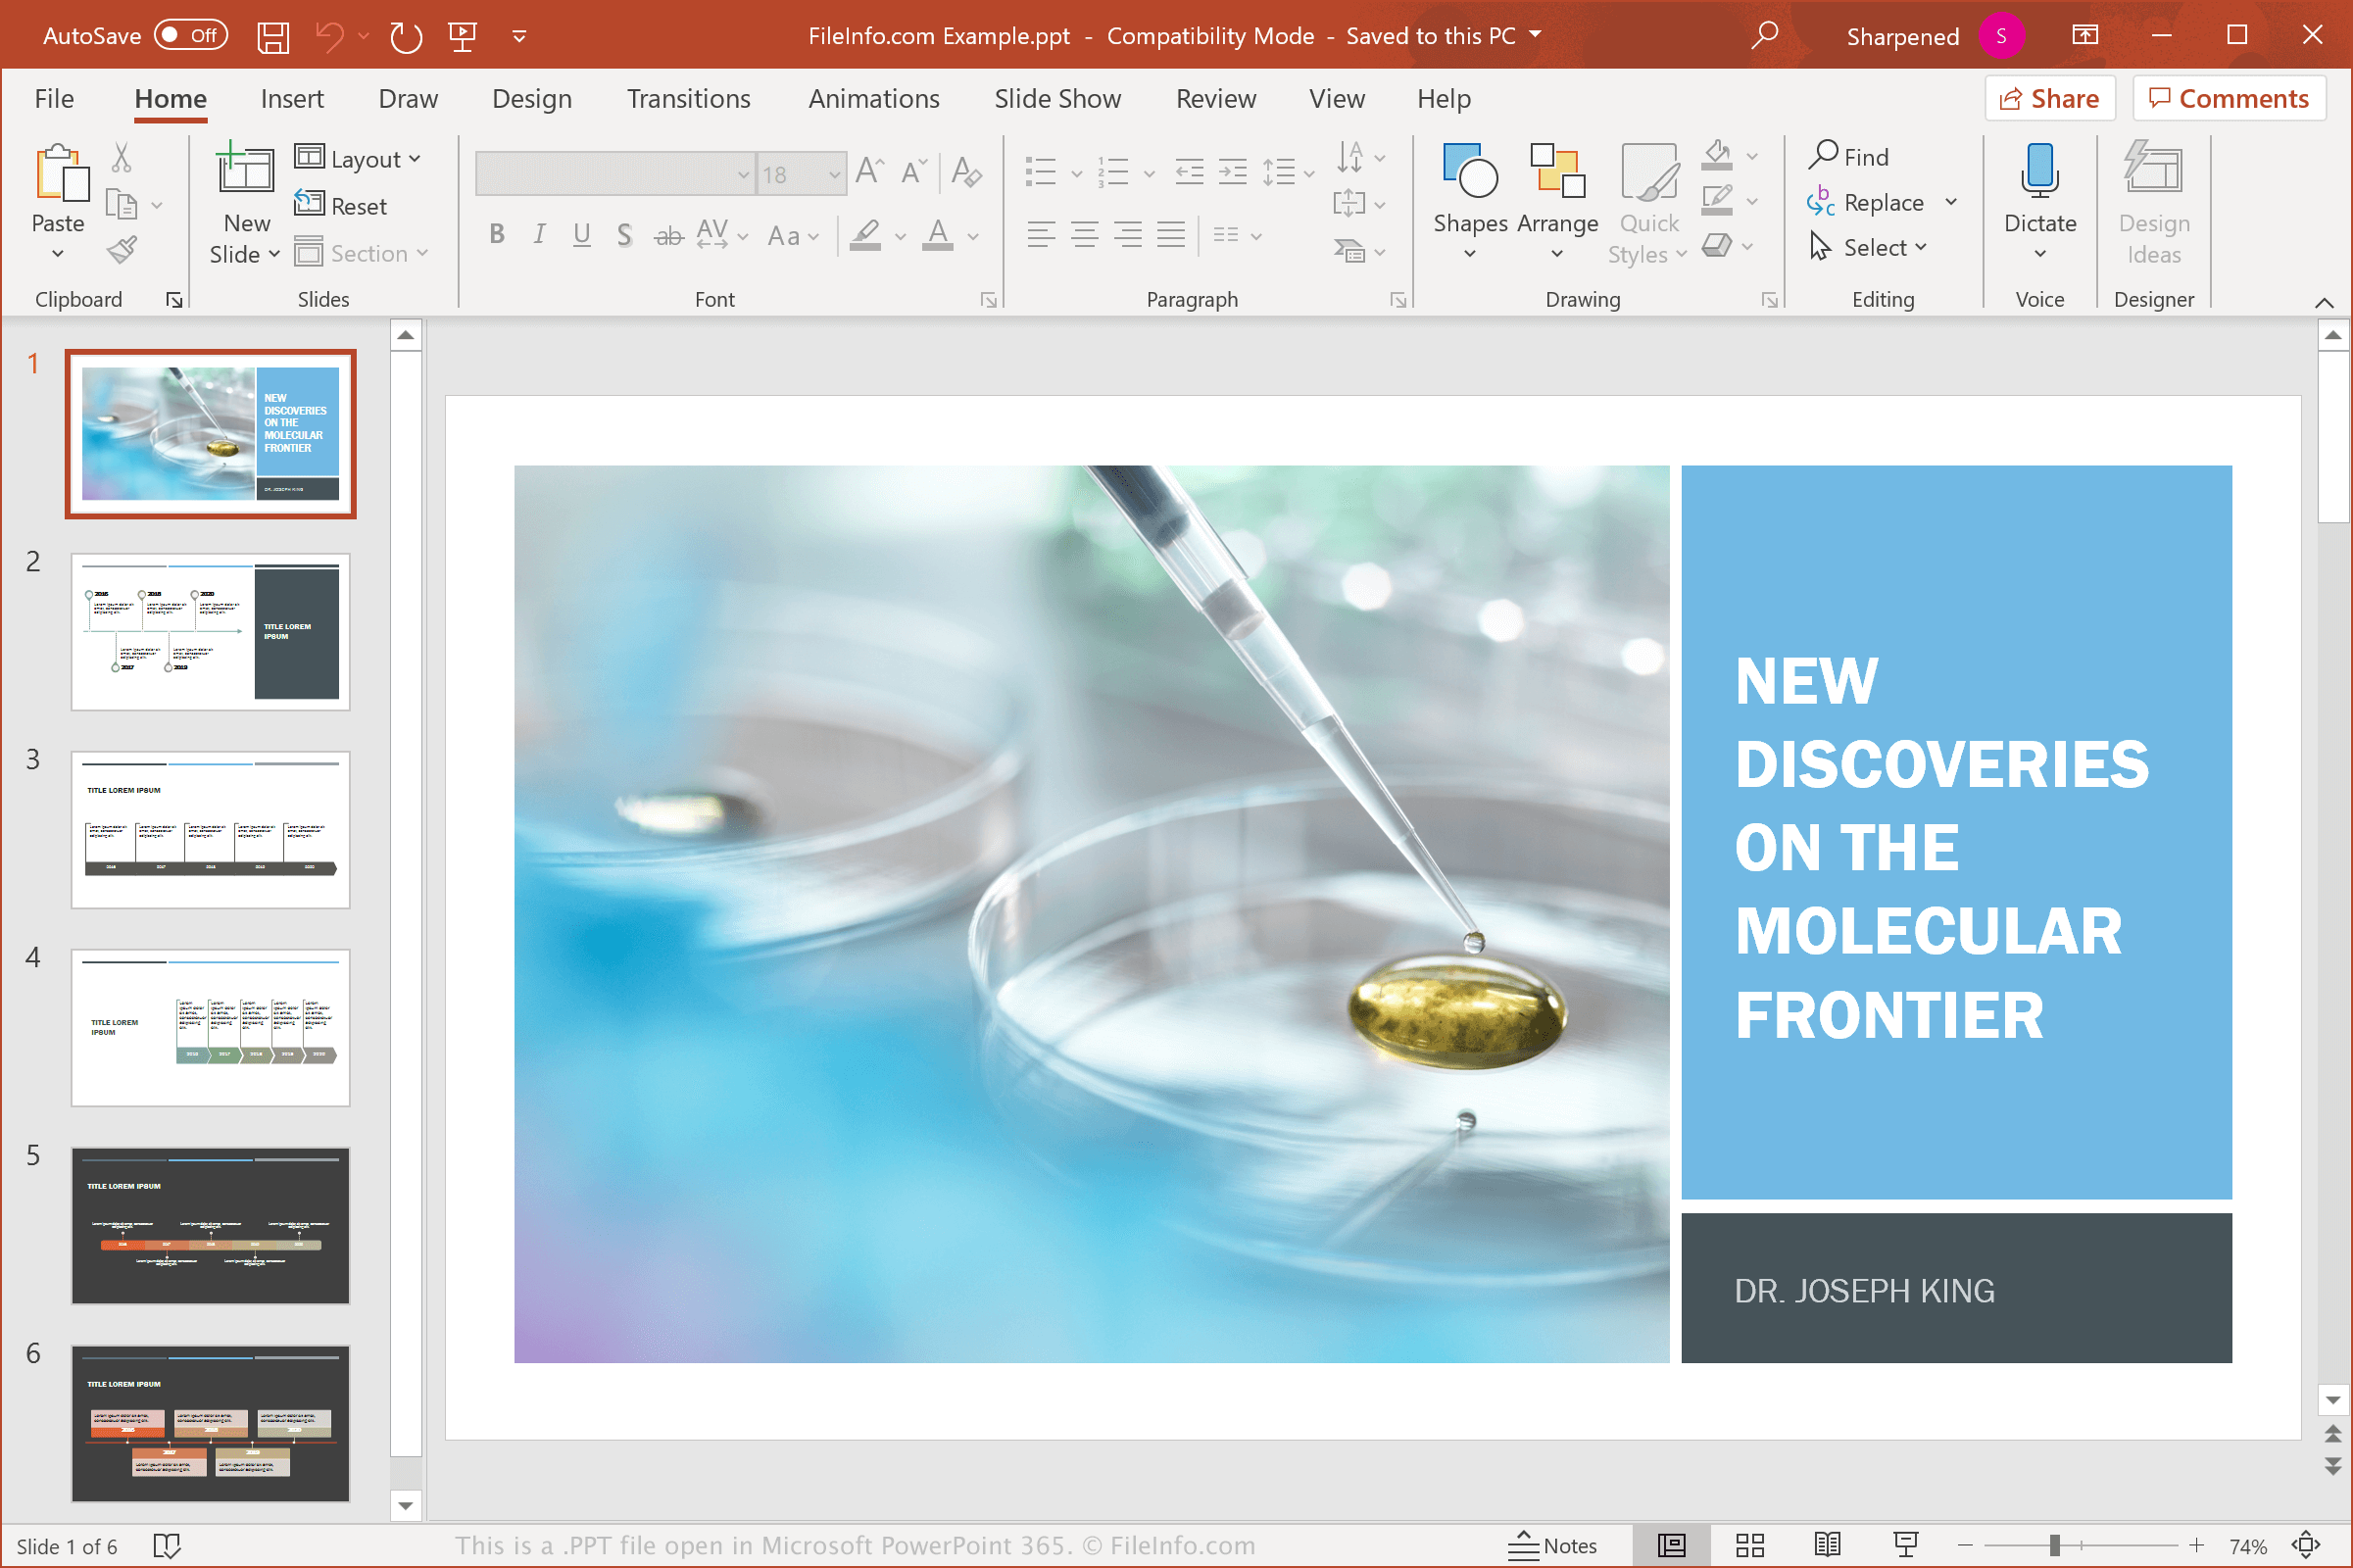
Creating a PowerPoint (PPT) template can save you time and ensure consistency across your presentations. Whether you’re designing templates for business, education, or personal use, a well-crafted template can enhance your slides’ professionalism. Below is a comprehensive guide on how to create a PPT template from scratch.Why Create a Custom PPT Template?
- Consistency: A template ensures all slides follow the same design language.
- Branding: Incorporate your company’s colors, fonts, and logos.
- Efficiency: Reuse layouts and styles instead of starting from scratch.
- Professionalism: A polished template elevates your presentation’s impact.
Step 1: Plan Your Template DesignBefore diving into PowerPoint, sketch out your template’s structure. Consider the following:
- Slide Types: Identify the slides you’ll need (e.g., title slide, section headers, content slides, image slides).
- Color Scheme: Choose 2-3 primary colors and 1-2 accent colors.
- Fonts: Select a readable font pair (e.g., one for headings, one for body text).
- Placeholders: Decide where text, images, and other elements will appear.
Step 2: Open PowerPoint and Set Up the Slide MasterThe Slide Master is the backbone of your template. Here’s how to access it:
- Open PowerPoint and go to the View tab.
- Click Slide Master to enter editing mode.
- The left pane shows the master slide and its layouts. The master slide controls global styles (e.g., fonts, backgrounds), while layouts define individual slide types.
Step 3: Customize the Master SlideApply your design to the master slide to propagate changes across all layouts:
- Background: Right-click the master slide and select Format Background. Choose a solid color, gradient, or image.
- Fonts: Click Fonts in the Slide Master tab to select a custom font set.
- Colors: Click Colors to define your color palette.
- Logo: Insert your logo in the master slide to appear on every layout.
Step 4: Design Individual Slide LayoutsCustomize each layout for specific purposes (e.g., title slide, content slide):
- Select a layout in the left pane.
- Add or remove placeholders (text, images, charts) via the Insert Placeholder dropdown.
- Adjust placeholder positions, sizes, and formatting (e.g., font size, alignment).
- Repeat for all layouts you plan to use.
Step 5: Save Your TemplateOnce your design is complete, save it as a template file (.potx):
- Go to File > Save As.
- Choose a location and name your file.
- From the Save as type dropdown, select PowerPoint Template (.potx).
- Click Save.
Tips for an Effective PPT Template
- Keep it simple: Avoid cluttered designs that distract from your content.
- Test readability: Ensure text contrasts well with the background.
- Use high-quality assets: Blurry logos or low-res images degrade quality.
- Optimize for different screens: Test your template on projectors and monitors.
ConclusionCreating a custom PPT template requires planning and attention to detail, but the effort pays off in streamlined workflows and professional presentations. By leveraging the Slide Master and thoughtfully designing layouts, you can build a reusable template that aligns with your brand or style. Follow the steps above, and you’ll master the art of template creation in no time!

